
Note: If you're viewing on the support chat widget, we recommend you click the expand icon on the top right corner, for better viewing experience.
For this new update, now Financio can maintain up to 5 price levels for your items. There are 3 major settings to set up the price levels which is :
- Add New Price Levels
- Set the Product Price Levels
- Set the the Customer Price Level
Add New Price Levels
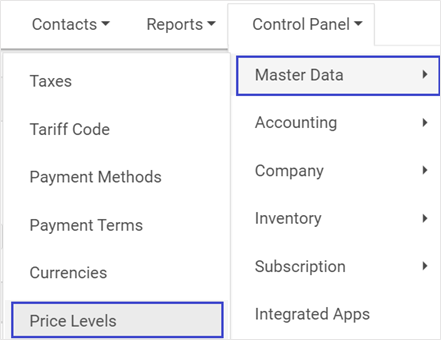
- Go to Control Panel > Master Data > Price Levels
- Price Levels tab created.
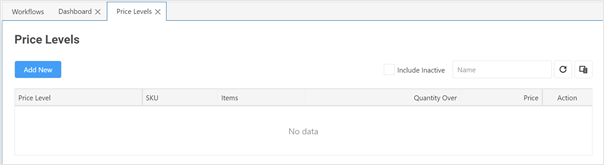
- Click on Add New button to add new Price Level.
- Key in the New Price Level name.
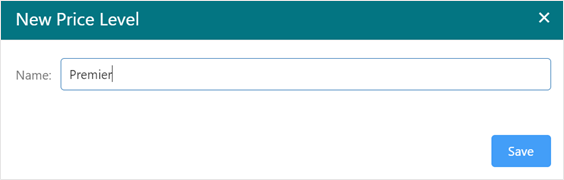
- Click Save.
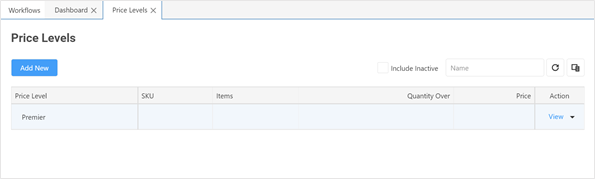
- Price Level will added in the list.
Set the Product Price Levels
- Go to Products & Services > List
- Click on the Product and set up the Price Levels
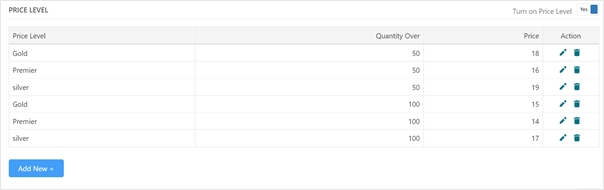
- Turn on Price Level (Toggle) - Yes

- Note : You only can turn on Price Level if the product is turn on for sell.
- Click Add New button
- Select the relevant Price Level and enter the required information

- Price Level – choose from the dropdown list
- Quantity Over
- Price
- Click Save icon
Note: For the Same Price Level, you cannot key in the same Quantity or same price, it will be rejected.
- Review the information
- Click Save.
Set the Customer Price Level
Once you have done setting up the Product price levels, the next step is to set up the Customer price level. This setup is very important to determine what price will occur when a customer buys the product.
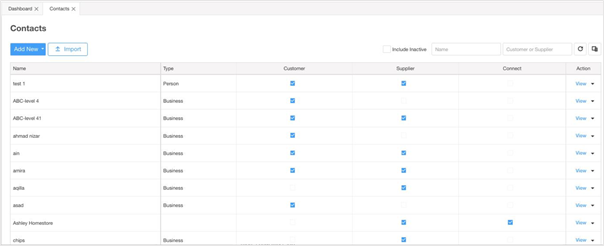
- Go to the Contacts > Contact List
- Contacts tab created
- Click view for the related customer
- Under Customer section > Set the Price Level
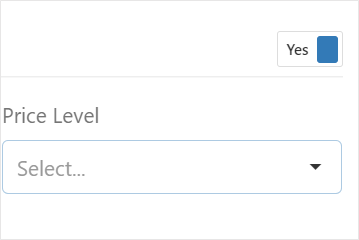
- Click Save.
Comments
0 comments
Article is closed for comments.